

¡Hola a todos y bienvenidos un día más a mi blog! ¡Feliz miércoles!
Hola! Espero que estéis todos muy bien. En el post de hoy, como ya estamos en septiembre y aunque es un poco tarde, os voy a enseñar mi material escolar para mi último curso de instituto. Me gusta muchísimo el material de este año y creo que eso ayuda a llevar el día a día con un poco más de positivismo. Además al final de post hay un pequeño DIY sorpresa. Como siempre os dejo los enlaces de todo para que podáis echarle un vistazo y en caso de que no encuentre los links os digo de donde son por si acaso.
¡Vamos a ello!
Por cierto, os invito a todos a seguir el blog en Instagram: fashionfromfa.news y en Bloglovin’: FashionFromFa 😉 Si me dejas un comentario en mi última foto de instagram diciendo que vienes de este post te haré spam ❤
¡Hello everyone and welcome back to my blog! ¡Happy Wednesday!
Hey guys! I hope you’re all doing well. In today’s post, as we are already in September and although is a little bit late, I’m going to show you my school supplies for my last high school year. I really like my supplies this year and I think that helps to carry the day to day with a little more positivism. Furthermore, at the end of post there’s a small DIY. As always I leave the links of everything so that you can take a look and in case I don’t find the links I tell you where they are just in case.
Let’s do this!
Oh! And you can also follow my blog on Instagram: fashionfromfa.news and on Bloglovin’ : FashionFromFa If you write a comment in my last instagram photo saying you come from this post I’ll spam you ❤
Primero voy a enseñar las cosas guays y luego el material típico. Este año decidí comprar la mayor parte de mi material online porque siempre hay más variedad y hay cosas que te salen muy bien de precio, de todas formas hay cosas de Tiger, de Primark y de papelerías.
First I will teach the cool things and then the typical stuff. This year I decided to buy most of my material online because there is always more variety and there are things with really good prices, however there are things from Tiger, Primark and stationery.

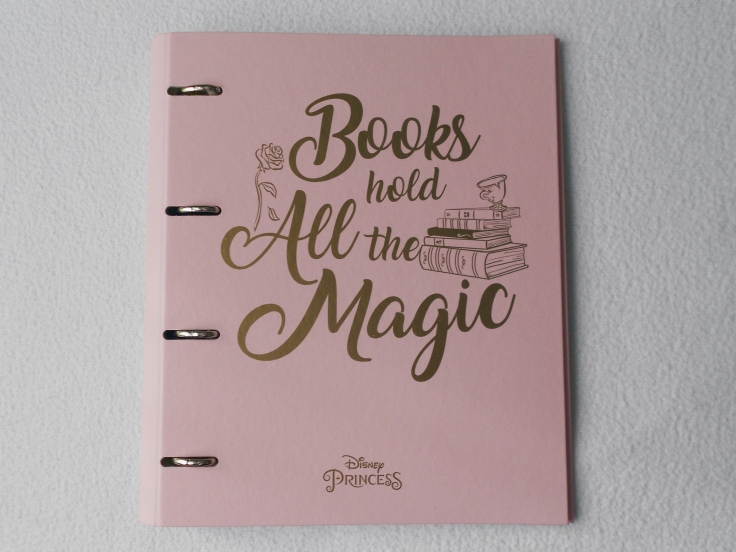
La primera cosa que me pedí fue mi archivador, es de la tienda Nosoloposters.com y forma parte de una colección de papelería de la Bella y la Bestia. Es rosa pastel con los dibujos en dorado, en su portada pone ‘books hold all the magic’, en la contraportada tiene la silueta de bella y en el lomo pone ‘Belle’. Además su interior viene decorado con dibujos de rosas en rojo y amarillo.
The first thing I ordered was my filing cabinet, it is from Nosoloposters store and is part of a stationery collection of the Beauty and the Beast. It’s pink pastel with the drawings in gold, in its cover is written ‘books hold all the magic’, in the back it has the silhouette of Belle and in the mold is written ‘Belle’. Besides its interior is decorated with drawings of roses in red and yellow.


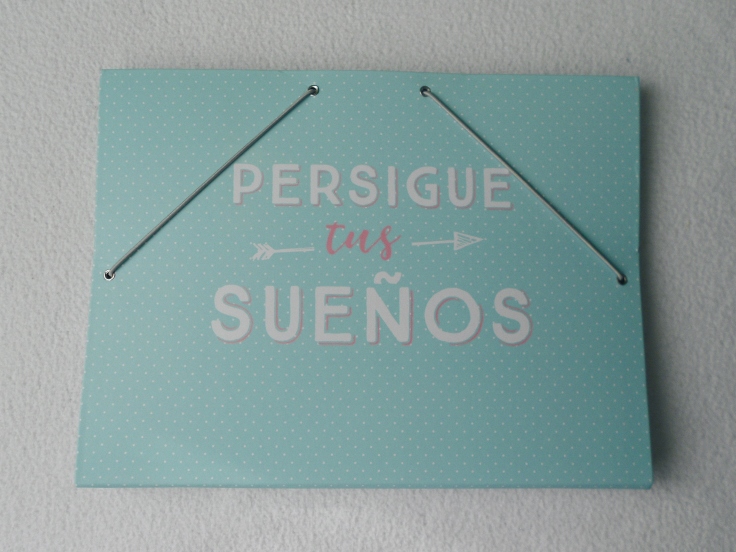
Seguimos con mi otra carpeta, es de las que tienen separadores de cartulina en el medio, es de una papelería y me costó 5.95€. Lo que más me gusta de la carpeta es, sin duda, el azul pastel del exterior que además lleva puntitos blancos. La carpeta dice ‘persigue tus sueños’ y por dentro es totalmente rosa.
We go on with my other folder, it’s like the ones that have cardboard separators in the middle, it’s from a stationery store and it cost me 5.95 €. What I like most about the folder is undoubtedly the pastel blue of the outside that also has white dots. The folder says ‘follow your dreams’ and inside is totally pink.
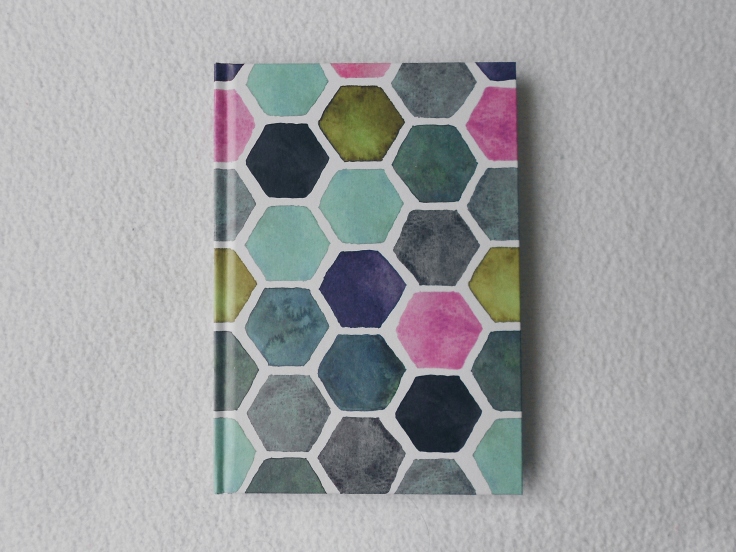
Este año he decidido no comprar agenda y hacer un Bullet Journal, por esta razón he comprado esta libreta en Tiger tamaño A5 y con las páginas lisas. No tiene anillas y por fuera es de tonos rosas, azules y verdes. Me costó 2€.
This year I’ve decided not to buy a diary and to make a Bullet Journal, for this reason I bought this notebook in Tiger size A5 and with the pages completely white. It has no rings and outside is pink, blue and green. It cost me € 2.
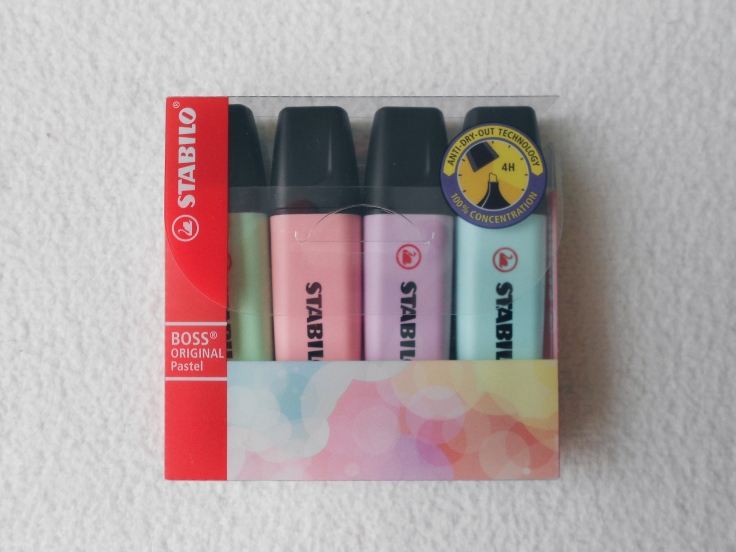
Los subrayadores pastel de Stabilo están por todas partes y yo no podía ser menos y no comprármelos. Aunque odio este tipo de rotuladores en colores chillones porque me resultan molestos, se que en las nuevas tonalidades si que me van a ser útiles y que los voy a usar porque no molestan. Lo mejor de todo es que me compré un pack de cuatro (verde, rosa, lila y azul) y me costaron 3.62€ a través de Amazon.
We are sick of seeing Stabilo’s pastel highlighters everywhere and I couldn’t be less and didn’t buy them. Although I hate this type of markers in bright colors because I find them annoying, I know that in the new tones they are going to be useful and that I will use them because they don’t annoy me. Best of all, I bought a pack of four (green, pink, lilac and blue) and cost me € 3.62 via Amazon.
La última cosa guay que os quiero enseñar, además del DIY, y la que más ilusión me hizo comprar fue este boli-varita de Harry Potter. Es de Primark cuesta 2€, pinta negro y está bastante lograda; la única pega es que pesa mucho y no es cómoda para escribir largos textos y que solo había el modelo de varita de Harry, espero que pronto tengan alguna más también.
The last cool thing I want to teach you, besides the DIY, and the one that made me most excited to buy was this Harry Potter wand-pen. It’s from Primark, it costs € 2, writes black and is quite accomplished; the only drawback is that it weighs a lot and is n’t comfortable for writing long texts and that there was only the model of Harry’s wand, I hope they soon have some more models too.

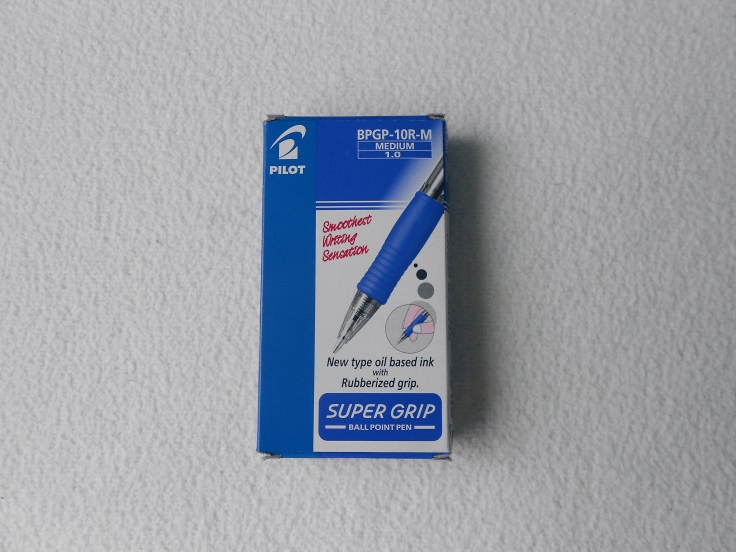
Vamos a empezar las cosas comunes con este pack de 12 bolígrafos Pilot azules. Son los normales, los que tienen la tinta a base de aceite. Cada bolígrafo me salió a 0.78 €.
Let’s start the common things with this pack of 12 blue Pilot pens. They are the normal ones, those that have the oil-based ink. Each pen cost 0.78 €.
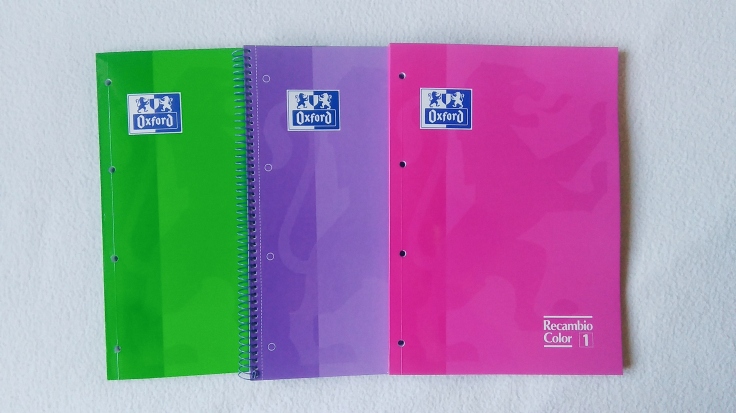
Por supuesto compré papel para el archivador, los compré en una papelería por 3.50€ cada uno.
Of course I bought paper for the filing cabinet, I bought them at stationery for 3.50€ each.
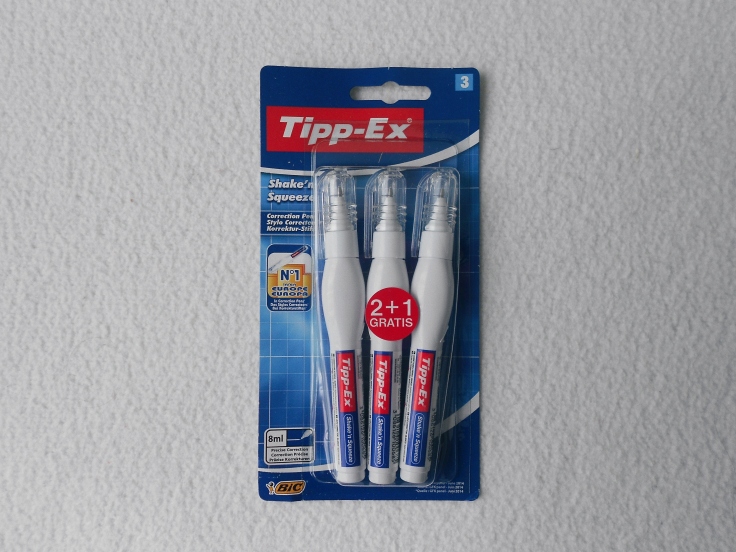
También me compré un paquete de tres Tipp-Ex líquidos en forma de bolígrafo
I also bought a packet of three liquid Tipp-Ex pens.
Compré folios blancos de gramaje 80 del Carrefour que me costaron 1.90€.
I also bought white sheets of grammage 80 from Carrefour that cost me 1.90€.

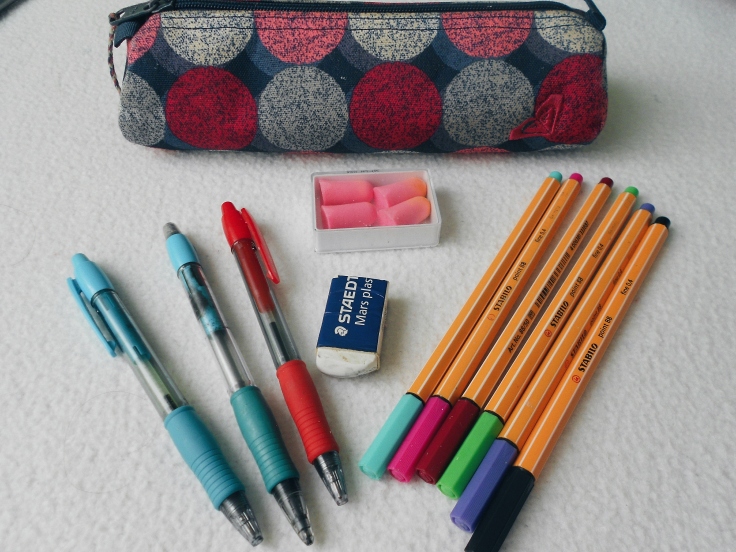
Y por último, antes del DIY, os enseño que hay en mi estuche: una goma, un bolígrafo azul, un portaminas de 0.5, un bolígrafo rojo, tapones para los exámenes, y varios stabilo.
And last, before the DIY, I show what I have on my pencilcase: a rubber, a blue pen, a mechanical pencil, a red pen, ear plugs for tests and somo Stabilo.
El DIY consiste en crear unos separadores personalizados para nuestro archivador. Yo siempre compraba los típicos separadores de plástico pero he decidido no comprarlos más porque en realidad, aunque cumplen su función, no me gusta ni su calidad ni sus colores.
This DIY is to create a custom separator for our filing cabinet. I always bought the typical plastic separators but I have decided not to buy them anymore because in reality, although they fulfill their function, I don’t like neither its quality nor its colors.
Para hacer los separadores he usado unos cartones que tenía guardados de unos recambios para el fichero, pero si no los tenéis con cualquier tipo de cartón o cartulina también sirve; y para forrarlos he buscado imágenes por internet y las he imprimido. El DIY consiste en pegar las imágenes y crear unos separadores completamente personalizados.
To make the separators I used some cartons that I had saved from some spare parts for the file, but if you don’t have them with any type of cardboard it also works; and to cover them I have searched for images online and I have printed them. DIY consists in pasting the images and creating a completely customized separator.


Otra forma de decorar los separadores es como hice yo con mi carpeta el año pasado, os de dejo el link: DIY : Archivador Personalizado | Custom School Folder
Another way to decorate the separators is as I did with my folder last year, I leave the link: DIY : Archivador Personalizado | Custom School Folder
Espero que os haya gustado mucho el post. Dejadme en comentarios si os ha gustado mi material escolar🙂
¡Nos vemos para la semana! ❤
I hope you enjoyed this post. Let me know in the comments down below if you liked my school supplies, I’d love to know!
See you next week! ❤
Mis redes sociales | My social media:
Código Youzz.com | Youzz.com Code : meVLIgvnim
Contacto | Contact: fashionfromfa@gmail.com
Bloglovin’ : FashionFromFa
WordPress: fashionfromfa.wordpress.com
Facebook: fashionfromfa
¡Muchas gracias por leerme! | Thank you for reading!
Fa x


Great school supplies! I miss going on this kind of shopping! 🙂 Me gusta!!! http://www.missandrada.com
Me gustaLe gusta a 2 personas
Thank you so much ❤ I think everybody loves back to school shopping hehe
All the love xo
Me gustaLe gusta a 1 persona